Top Rapid Prototyping Techniques for Faster Innovation
Table of Contents
Rapid prototyping is all about one thing: turning a digital design file into a physical object you can hold in your hands—fast. These methods, with 3D printing leading the charge, let engineers and designers create a real-world part or model in a few hours or days, not the weeks or months it used to take.
Bringing Your First Idea to Life with Prototyping
Let's say you have a fantastic idea for a new product. Right now, it’s just a rough sketch or a concept rattling around in your head. So, how do you cross that chasm between a fleeting thought and a tangible object you can test, refine, and show off to stakeholders? That's exactly the role rapid prototyping plays. It’s the bridge from abstract to concrete.
It’s a bit like an architect building a skyscraper. They wouldn't dream of starting construction without first creating a detailed scale model. That model is what helps them spot design flaws, check the structure, and give everyone a clear vision of the finished building. Rapid prototyping does the same thing for product development, just on a much quicker, more affordable scale.
The Power of Quick Iteration
The real magic of rapid prototyping is speed. Instead of spending ages crafting one "perfect" model, teams can churn out multiple versions in a short amount of time. Every single one of these versions gives you a chance to learn something new.
- Test Assumptions: Does that handle feel right in your hand? Is there enough room inside the casing for the electronics? A physical prototype answers these questions instantly.
- Identify Flaws Early: Finding a major design mistake on a physical model is a minor headache. Finding it once the production line is running is a full-blown, expensive catastrophe.
- Gather Crucial Feedback: There's no substitute for putting a prototype into the hands of real users. Their feedback is gold and can steer the entire project in a better direction.
This cycle of building, testing, and learning is what modern product development is all about. It lets you confirm that your design and features actually work long before you ever sink money into expensive manufacturing tools.
A Brief History of Innovation
While it feels very 21st century, the roots of these techniques go back further than you might think. The story of rapid prototyping really starts in the early 1980s with Chuck Hull’s invention of stereolithography (SLA). As the world's first 3D printing technology, it used a UV laser to cure liquid photopolymer resin one layer at a time. This breakthrough paved the way for the first commercial rapid prototyping machine and kicked off an entirely new approach to industrial design.
This ability to iterate and improve has completely changed the game. It’s not just about saving time and money—it's about making better products. By making failure cheap and learning fast, you ultimately build something your customers will love.
Exploring Core Additive Manufacturing Methods
Additive manufacturing, which you probably know as 3D printing, is the heart and soul of modern rapid prototyping. These technologies build objects from the ground up, layer by layer, straight from a digital design file. It’s a complete reversal of traditional methods, where you’d start with a solid block of material and just carve away everything you don't need.
Let's pull back the curtain on three of the most common and powerful additive manufacturing methods. Once you get a feel for how they work, their unique strengths, and where they shine, you'll be able to pick the right tool for your project.
Fused Deposition Modeling (FDM)
Think of Fused Deposition Modeling (FDM) as a smart, robotic hot glue gun. It takes a spool of plastic string, called a thermoplastic filament, and feeds it through a heated nozzle. This melted plastic is then carefully drawn onto a build platform, tracing the object’s shape one thin layer at a time. Each layer cools, hardens, and fuses to the one beneath it, slowly but surely bringing the 3D model into the physical world.
Thanks to its straightforward process and cheap materials like PLA and ABS, FDM printers are everywhere. You’ll find them in workshops, schools, and on the desks of engineers and hobbyists alike.
- Primary Strength: Speed and affordability. FDM is a fantastic choice for whipping up low-cost concept models, checking basic form and fit, and creating early-stage prototypes where perfection isn't the goal.
- Common Drawback: The layer-by-layer process leaves behind visible lines, giving parts a distinct ridged texture. This rougher surface finish means FDM isn't ideal for showroom-quality models, and it can affect the part's strength along those layer lines.
Stereolithography (SLA)
Now, imagine you could create a solid object by drawing it inside a shallow pool of liquid. That’s a great way to picture Stereolithography (SLA). This technique uses a high-precision ultraviolet (UV) laser to cure a photopolymer resin, which is basically a liquid plastic that hardens when hit with UV light.
The laser traces the first layer of the design onto the surface of the resin, instantly solidifying it. The build platform then dips down just a fraction, and the laser gets to work on the next layer. This repeats over and over until the complete object is formed.
Key Takeaway: SLA is the undisputed champion for prototypes that need to look stunning. It produces parts with incredibly fine details and a smooth surface that can look almost like it came from an injection mold.
Of course, that beautiful finish comes at a price. The resins are more expensive, and there’s a bit more work to do after printing, like washing off excess liquid and giving the part a final cure under UV light to maximize its strength.
This quick breakdown shows how build time, cost, and resolution are often balanced in a typical 3D printing project.
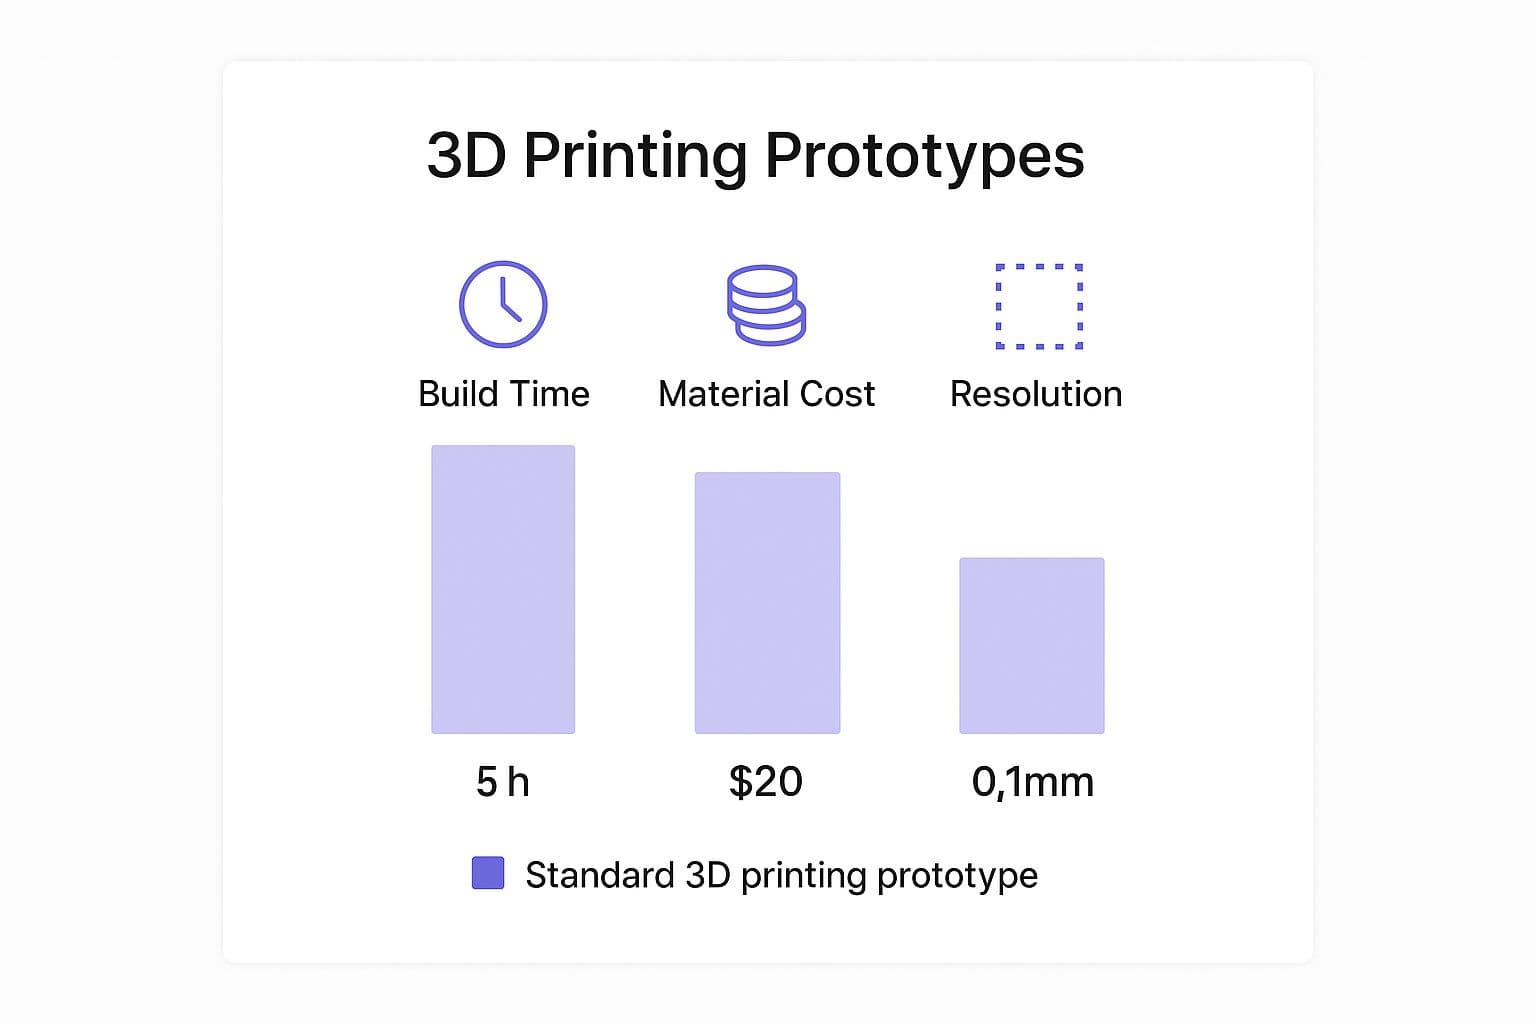
As you can see, gaining higher resolution often means investing more time and using more expensive materials. It's always a trade-off.
Selective Laser Sintering (SLS)
From liquid resin, we move to a fine powder. Selective Laser Sintering (SLS) uses a powerful laser to fuse together tiny particles of polymer powder. Inside a heated chamber, a roller spreads a paper-thin layer of this powder over the build area. The laser then zaps the powder, precisely scanning the part’s cross-section and sintering (fusing) it into a solid mass. The platform then lowers, a new layer of powder is spread, and the cycle begins again.
One of the coolest things about SLS is that the bed of unfused powder provides its own support. This means you can create incredibly complex, interlocking parts without worrying about adding special support structures that you’d have to painstakingly remove later. The resulting parts are strong and durable, making them perfect for real-world functional testing.
Comparing Key Additive Prototyping Techniques
To make things even clearer, this table offers a direct comparison of the three primary additive manufacturing methods, outlining their processes, materials, and best-fit applications.
| Technique | Process Analogy | Common Materials | Primary Strength | Ideal Use Case |
|---|---|---|---|---|
| FDM | A robotic hot glue gun | PLA, ABS, PETG (Plastics) | Low cost and speed | Early concept models and fit checks |
| SLA | Drawing with light in liquid resin | Photopolymer Resins | High detail and smooth finish | High-fidelity visual prototypes |
| SLS | Fusing powder with a laser | Nylon (PA11, PA12) | Strong, durable functional parts | Complex geometries and functional testing |
Each of these methods opens up different possibilities. FDM is your go-to for quick and cheap validation. SLA is what you turn to for stunning visual models. And SLS delivers tough, production-grade parts that can take a beating. By understanding these core rapid prototyping techniques, you can confidently choose the right tool to bring your idea to life.
A Guide to Subtractive and Formative Techniques
While additive manufacturing (3D printing) gets a lot of the spotlight for building parts from the ground up, some of the most powerful prototyping methods actually do the opposite. They start with more material than they need and either carve it away or reshape it.
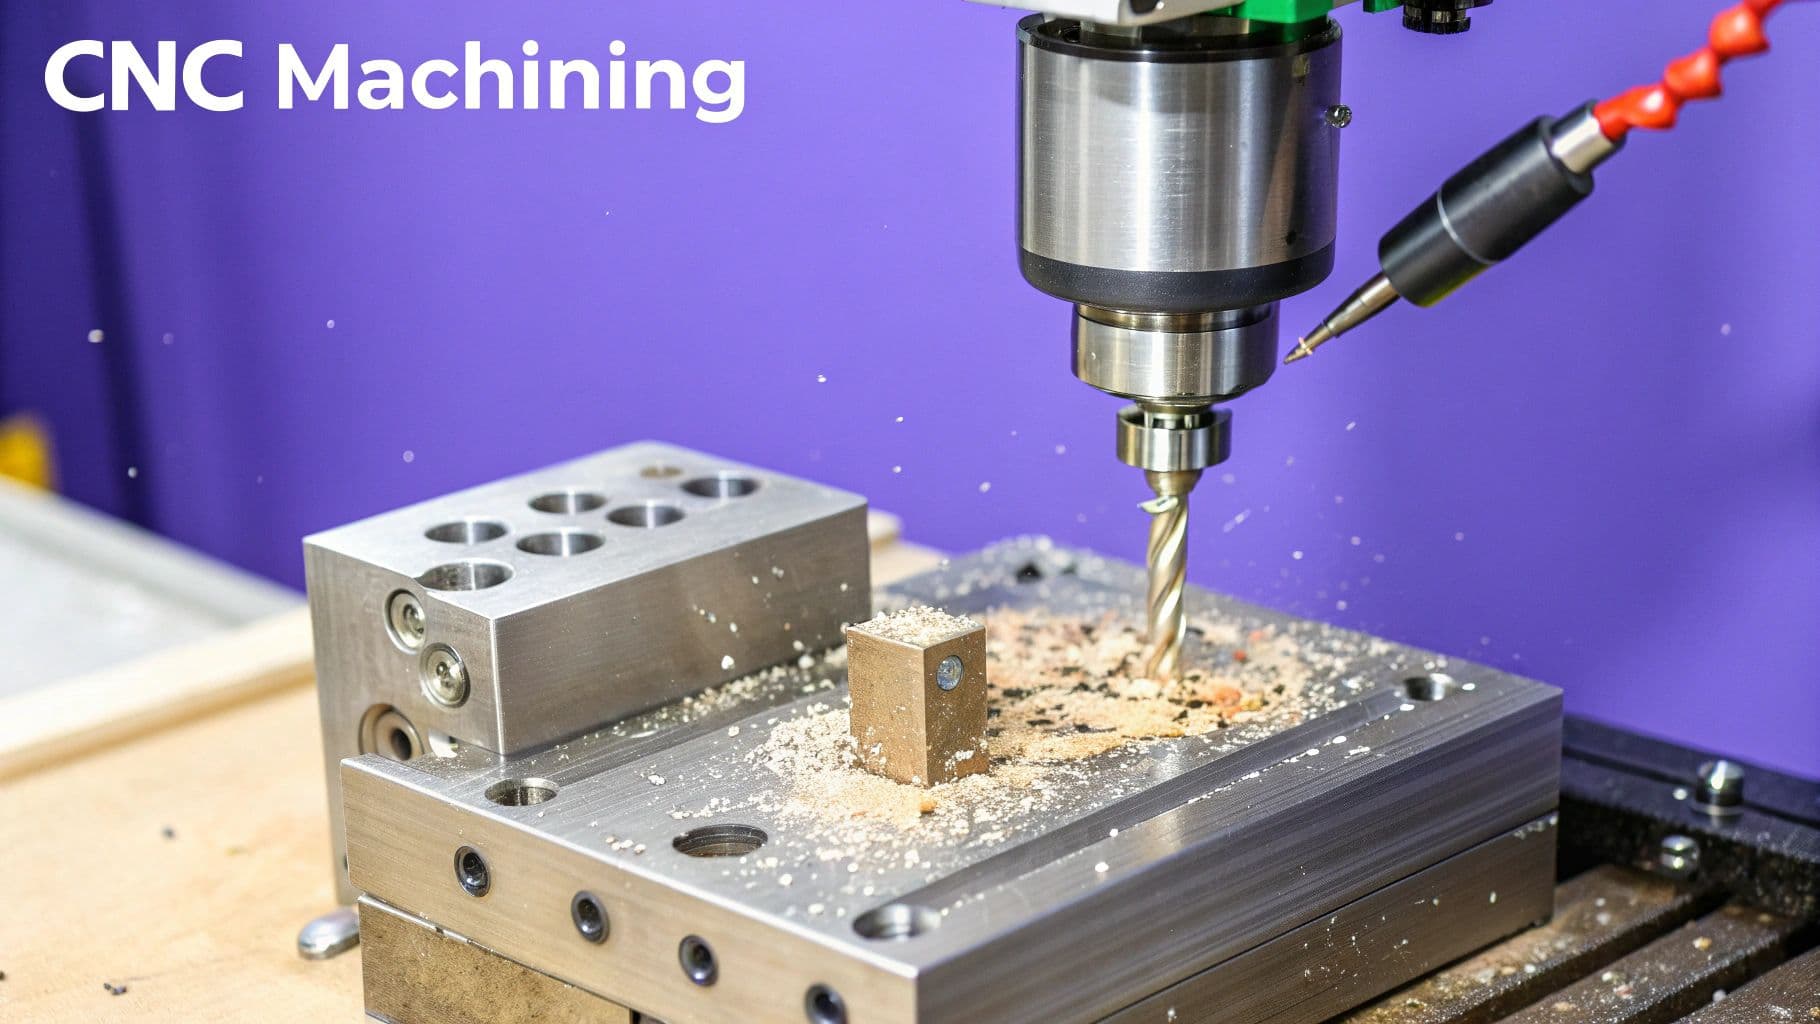
These subtractive and formative techniques are your go-to options when the prototype needs to be strong, made from a specific "real" material, or produced in a small batch. Let's look at two workhorses of the industry: CNC Machining and Vacuum Casting. Each has a specific job in the product development journey, and knowing which one to pick can mean the difference between a simple model and a prototype that performs just like the final product.
CNC Machining: The Modern Sculptor
Think of CNC Machining as a master sculptor with robotic precision. Instead of a chisel and hammer, it uses a computer-guided cutting tool to meticulously carve away material from a solid block of metal, plastic, or even wood. This block is often called a "billet." The final result is an incredibly precise part that matches its digital blueprint perfectly.
This subtractive method is the conceptual opposite of 3D printing. You start with a whole piece and remove everything that isn't your part. This fundamental difference is where CNC machining gets its incredible strength.
Because the final part is machined from a solid block of production-grade material, it retains all of that material's inherent strength and mechanical properties. A CNC-machined aluminum prototype isn't just an aluminum-like model; it is a true aluminum part.
This quality makes CNC Machining the gold standard for robust, functional prototypes that need to survive serious physical stress. If you’re designing a gear for a motor or a bracket that has to bear a heavy load, CNC is often the only way to get a prototype that’s tough enough for real-world testing.
Vacuum Casting: Your Small-Scale Factory
So, you've got one perfect "master" prototype—maybe you made it with a high-end SLA 3D printer or even CNC machined it. Now you need a dozen more just like it for a trade show, investor demos, or your first sales samples. Firing up a mass production line would be total overkill, but 3D printing each one is slow and might not give you the polished look you're after.
This is where Vacuum Casting comes in. It's a brilliant technique that lets you clone your master part with incredible fidelity.
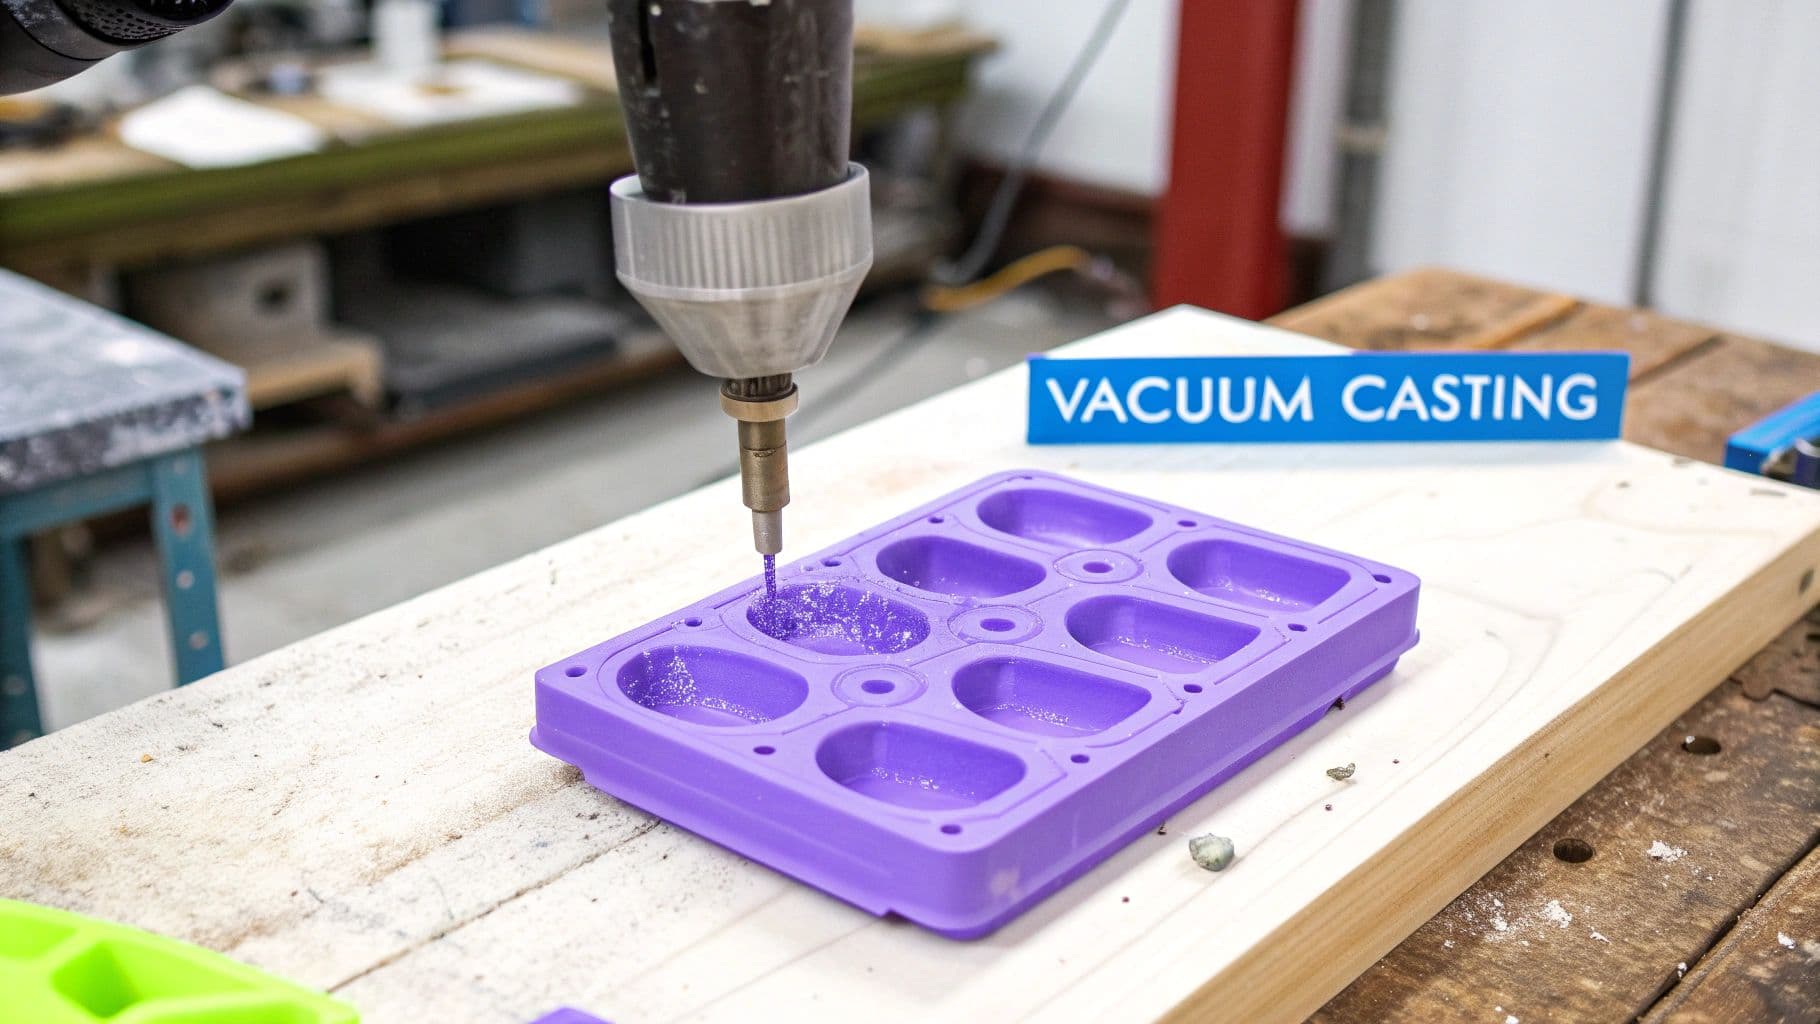
It all starts by creating a high-quality silicone mold around your master pattern. Once that mold has hardened and you remove the original, you're left with a perfect negative cavity of your part.
The process is pretty straightforward:
- Create the Mold: The master part is suspended inside a casting box, and liquid silicone is poured all around it.
- Cure and Cut: After the silicone cures into a solid but flexible block, it's carefully cut in half. The original master part is removed, leaving behind a precise cavity.
- Cast Duplicates: The two halves of the mold are put back together, and a liquid polyurethane resin is poured into the cavity inside a vacuum chamber. The vacuum sucks out all the air, which means no tiny bubbles to ruin the finish.
- Final Part: The resin hardens inside the mold. Once it's solid, the mold is opened, and out comes a high-fidelity replica of your original master.
This process is perfect for creating small batches of 10 to 50 parts with a surface finish that can easily be mistaken for injection molding. It’s an incredibly useful bridge between a single prototype and full manufacturing, giving teams the chance to test out different colors, textures, and material hardnesses with just a handful of units. This makes it one of the most cost-effective rapid prototyping techniques for any kind of limited production run.
How Industries Use Rapid Prototyping Today
It's one thing to talk about the theory behind a technology, but where the rubber really meets the road is in its real-world impact. While the concepts behind different rapid prototyping techniques are fascinating on their own, it's their application across major industries that tells the full story. From the operating room to the factory floor, these methods have become indispensable tools for getting things done better and faster.
Seeing how these techniques are actually used helps connect the dots between an abstract idea and a real-world business advantage. The ability to create a physical model in hours or days, not weeks or months, has fundamentally changed how companies think about design, testing, and bringing a product to market.
Accelerating Automotive Design
The automotive world runs on tight schedules and even tighter margins, making it a natural fit for rapid prototyping. In the past, creating a new concept for a dashboard or front grille was a painstaking, expensive ordeal. It meant skilled artisans sculpting clay models by hand or creating custom tooling for just one version—a process that could easily drag on for weeks.
Now, an automotive designer can 3D print a full-scale dashboard overnight. This is a game-changer. It means they can:
- Test Ergonomics: Literally sit inside a mock-up and see if the button placement feels right, if the screens are easy to see, and if the overall layout is comfortable for the driver.
- Evaluate Aesthetics: Mount a newly printed grille onto a vehicle body and see how it looks in natural light, something a computer screen can never fully capture.
- Verify Assembly: Check if a new component, like a side mirror housing, fits seamlessly with the car's existing parts before spending a fortune on production molds.
This approach flips the old, rigid design process on its head, turning it into a much more fluid and iterative cycle.
By slashing development time, car companies can experiment with more adventurous designs and catch expensive mistakes when they're still cheap to fix. The result is better, more innovative vehicles hitting the showrooms sooner.
Revolutionizing Healthcare and Medical Devices
In the medical field, customization and precision aren't just nice-to-haves; they can be the difference between life and death. Rapid prototyping has unlocked some incredible advancements, especially when it comes to surgical planning and custom medical implants.
Picture a surgeon about to perform a tricky operation to remove a tumor tangled around critical organs. By converting a patient's CT scan into a 3D model, the hospital can print an exact, physical replica of that patient's unique anatomy. This allows the surgical team to hold the model, plan their approach, and even practice the procedure before making the first cut. This has a massive positive impact on patient safety and surgical success rates.
Prototyping is also vital for developing new medical devices. Whether it’s a more ergonomic handle for a surgical instrument or a custom-fit prosthetic limb, designers can produce and test dozens of variations quickly. This ensures the final product is not only effective but also comfortable and safe for everyone involved. You can dive deeper into specific use cases for rapid prototyping that are making a real difference in healthcare.
Perfecting Consumer Electronics
In the cutthroat market of consumer electronics, how a product looks and feels is often just as important as the technology inside. The ergonomics of a device—how it feels in your hand—can determine whether it's a hit or a flop. This is where rapid prototyping truly excels.
Think about the process of designing a new gaming controller or smartphone. Engineers can use methods like SLA or Vacuum Casting to create a whole batch of prototypes, each with slight variations in shape, weight, or texture. Testers can then pick them up, hold them, and give immediate, tangible feedback.
This constant loop of printing, testing, and tweaking is priceless. It ensures the final design isn't just functional, but feels right—a product that people genuinely enjoy using from the moment they unbox it.
Choosing the Right Prototyping Technique for Your Project
With so many rapid prototyping techniques available, the big question is always: which one should you use? The answer isn't always straightforward. It’s like picking the right tool for a home repair project—you wouldn't use a sledgehammer to hang a picture frame, and the same logic applies here.
Making the wrong call can be costly. You could easily waste time, blow your budget, and end up with a prototype that doesn't actually answer your most important questions. To sidestep these problems, let's walk through a simple decision-making framework. By answering a few key questions, you can confidently narrow your options and pick the best method for your specific needs.
What Is the Prototype's Main Purpose?
First things first, what job does this prototype need to do? This is the most critical question because the answer will shape all your other choices. Are you creating a model to wow potential investors, or does it need to stand up to tough, real-world testing?
- For Visual Appeal: If you need a gorgeous, high-fidelity model that looks just like the finished product, Stereolithography (SLA) is usually your best bet. Its ability to create silky-smooth surfaces and intricate details is perfect for presentation models.
- For Functional Testing: When a prototype has to perform a mechanical job—like a working gear or a load-bearing bracket—strength is non-negotiable. CNC Machining gives you production-grade materials, while Selective Laser Sintering (SLS) produces tough, durable nylon parts.
Defining the purpose upfront helps you separate what a prototype could be from what it absolutely needs to be. This is a crucial distinction. You might even find that what you thought was a prototype is closer to a proof-of-concept. If you're navigating these definitions, our guide on MVP vs. prototype offers some helpful clarity.
What Material Properties Are Essential?
Next up, let's talk materials. Does your part need to be stiff or flexible? Should it handle high temperatures or resist chemicals? Your material requirements will instantly eliminate some rapid prototyping techniques from the running.
For instance, if your design calls for a specific metal alloy like aluminum 6061 for strength testing, CNC Machining is really the only way to go. But if you need a soft, rubber-like part for a grip or a seal, Vacuum Casting is a fantastic choice. The key is to let the material needs lead the way, not the technology itself.
How Important Are Fine Details and Finish?
Take a close look at your design's geometry. Does it have tiny, complex features, or is it a fairly simple shape? And how smooth does the final surface need to be? The level of detail and desired finish creates a pretty clear dividing line between the different methods.
SLA is the champion for capturing fine features and producing a smooth, almost injection-molded look. This makes it ideal for detailed electronic casings or miniatures. On the other hand, Fused Deposition Modeling (FDM) is known for its visible layer lines, making it a better fit for early-stage concept models where looks aren't the top priority.
This selection process is vital for success. Studies show that companies using rapid prototyping shorten development cycles by 30-50% and cut costs by up to 30%. Choosing the right technique is crucial to realizing these benefits, turning product development into a more efficient and predictable process. Discover more insights about these findings at TechniWaterjet.com.
What Are Your Budget and Timeline Constraints?
Finally, we have to get practical. How much can you spend on this prototype, and how fast do you need it? These two constraints—cost and speed—are often the ultimate tie-breakers.
Here’s a quick way to think about it:
- Lowest Cost and Fastest: FDM is generally the cheapest and quickest for simple concept models.
- Moderate Cost and Speed: SLA and SLS are your mid-range options, offering a solid balance of quality and turnaround time.
- Highest Cost and Slower Speed: CNC Machining typically costs the most and can take longer, but it delivers unmatched strength, precision, and material options.
By walking through these questions, you can systematically match your project's needs to the strengths of each prototyping method. This ensures you invest your resources wisely and get a prototype that truly moves your project forward.
Common Questions About Rapid Prototyping
Diving into rapid prototyping can feel like you're learning a whole new language, filled with terms and tech that might not make sense right away. To help cut through the noise, we’ve put together answers to some of the most common questions we hear.
Think of this as your quick-start guide. It’s designed to tackle those initial hurdles so you can get your project off the ground with confidence.
What Is the Main Difference Between Rapid Prototyping and 3D Printing?
This is easily the biggest point of confusion, so let's clear it up. While people often use the terms interchangeably, they aren’t the same thing. The best way to think about it is "why" versus "how."
Rapid prototyping is the "why." It’s a strategy, a whole approach to product development focused on creating physical models quickly. The goal isn't to make a final product, but to test, learn, and improve an idea before you sink serious money into full-scale manufacturing. It's all about speed and learning.
3D printing is the "how." It's a specific manufacturing technology—and just one of many tools you can use for rapid prototyping. It works by building an object layer by layer from a digital design.
In short, rapid prototyping is the mission; 3D printing is one of the most popular vehicles for getting there. You could just as easily use CNC machining or vacuum casting for a rapid prototype, but 3D printing’s speed and low barrier to entry have made it the go-to choice for many.
How Much Does Rapid Prototyping Cost?
There's no single price tag. A prototype could cost you a few dollars or run into the thousands. It’s like asking, "How much does a vehicle cost?" A moped and a freightliner are both vehicles, but their prices are obviously worlds apart. The same logic applies here.
The final cost really boils down to a few key factors:
- Technology Used: A simple Fused Deposition Modeling (FDM) print is incredibly affordable. On the other end of the spectrum, you have high-end methods like Direct Metal Laser Sintering (DMLS) or complex CNC machining, which are significantly more expensive.
- Material Choice: Basic plastics like PLA are dirt cheap. But if you need high-performance engineering resins, carbon-fiber-infused nylons, or aerospace-grade metals, the cost will jump up fast.
- Part Size and Complexity: It's simple math—a bigger, more detailed part uses more material and takes longer to make. A small, simple cube will always be cheaper than a large, intricate engine housing.
- Turnaround Time: Need it tomorrow? You're going to pay a premium for that speed. Standard lead times are always the most budget-friendly option.
To get a real number, you’ll always need to send your 3D CAD file to a prototyping service for a custom quote.
Can I Use Rapid Prototypes As Final Products?
Absolutely, and this is where things get really exciting. When a prototype is made using a process and material that are strong enough for real-world use, it graduates from being a "prototype" to becoming an end-use part through additive manufacturing, also known as direct digital manufacturing (DDM).
This isn't some futuristic idea; it's happening right now. Technologies like Selective Laser Sintering (SLS), HP's Multi Jet Fusion (MJF), and various metal 3D printing methods can create parts with mechanical properties that match—or even beat—traditionally manufactured ones.
This approach is a game-changer for a few key scenarios:
- Low-Volume Production: If you only need a couple of hundred units, it’s often cheaper and way faster to 3D print them directly instead of investing tens of thousands in tooling for injection molding.
- Custom or Bespoke Items: Perfect for anything tailored to an individual, like custom medical implants, specialized parts for a drone, or personalized dental aligners.
- Complex Geometries: Additive manufacturing can produce incredibly intricate shapes that are either impossible or ridiculously expensive to make with old-school methods.
That said, when you need to scale up to true mass production—we're talking tens of thousands of units or more—traditional methods like injection molding still have a major cost-per-part advantage.
What Software Do I Need to Start Prototyping?
Every physical prototype starts as a digital file. That digital blueprint is created in Computer-Aided Design (CAD) software, which is the non-negotiable first step for any rapid prototyping technique.
The good news is that there’s a huge range of CAD software out there, with options for every skill level and budget.
- For Beginners and Hobbyists: User-friendly and often free tools like Tinkercad are a great place to start. If you're ready for a bit more muscle, the free version of Autodesk Fusion 360 offers an amazing mix of power and usability.
- For Professionals: Engineers and industrial designers live in more robust, industry-standard programs. Software like SolidWorks, CATIA, Siemens NX, and Autodesk Inventor are the heavy lifters in the professional world.
Once your design is ready in your CAD program, you just export it as a file format the machines can read. The most common formats are .STL and .STEP. This is the file you'll send to a 3D printer or CNC shop to bring your idea into the physical world.
While a prototype helps you nail down the physical form, it's just one piece of a much larger product strategy. Understanding how these early models fit into the grand scheme of things is critical. For a deeper dive into that, our article comparing a proof-of-concept vs. an MVP is a really helpful read.
Ready to stop just thinking about your idea and start building it? At Iglu Digital, we specialize in turning concepts into market-ready MVPs for a price agreed before a line of code is written. Let us help you build a functional, user-validated product without the long delays and uncertainty. Learn how we can bring your vision to life.